If you've read our 6 Tips to Improve Rear Traction, you know that rear traction can be a problem for the stock SC10. The good thing is that the SC10 has tons of steering and you can do a lot of things to tune down the steering and get the back-end hooked up really well.
One of the ways to tune down steering and increase rear traction is by adding "Anti-squat" or "Kick-up" to the rear suspension. Anti-squat can be defined as the angle of the hinge pins to the surface your truck is on. To increase rear traction, you will want to increase the angle of your rear hinge pins.
Adding anti-squat isn't the easiest setup change, but we recommend doing it because it will allow you to have more freedom when tuning the other aspects of your truck. Luckily, TeamSC10.com has written up a short guide on how to add anti-squat to your SC10.
You will either need some small plastic spacers or the Factory Team Arm Mount Kit to add anti-squat. Thicker spacers and rear arm mounts (labeled in degrees) will give you more anti-squat.
How to add anti-squat to your SC10:
1. Back out the screws that will hold the anti-squat spacers or Factory Team Rear Arm Mount.
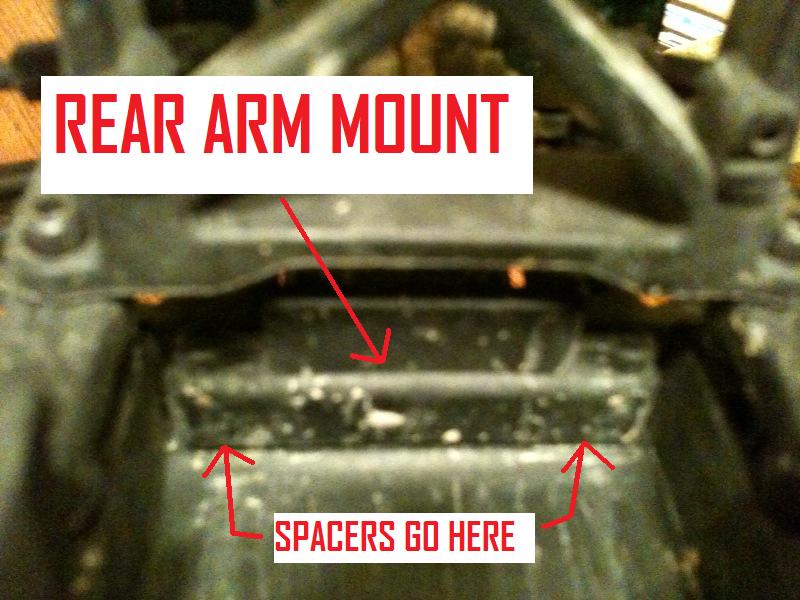
The anti-squat spacers (any regular plastic spacers or ask your LHS what they have) will go on the two inside rear chassis plate screws (See manual, page 9 - Rear Arms - Step 2). Look at the picture above to know exactly what screws to back out a little. When you back the screws out, the rear arm mount (part 9818) will come loose.
If you have the Factory Team Rear Arm Mount Kit, simply replace the rear arm mount with a higher degree arm mount from the kit. Try the 3.5 deg or 4.0 deg, especially if you are running on a low traction surface.
2. If using spacers, place them between the rear arm mount and the chassis plate.
This is the tricky part. You will need to squeeze the spacers between the chassis plate and the rear arm mount. See the picture to the left to get a better idea of where you will need to put these spacers. Remember, they are going to have to thread onto the rear chassis plate screws. Its easier if you back out the rear chassis plate screws to where they are barely showing sticking out under the rear arm amount. If you look close you will be able to get the spacers right on top of the screws.
3. Screw the rear chassis plate screws back in.
Once you have the spacers threaded on the rear chassis plate screws, you can screw them back into the rear arm mount. If you are using the Factory Team Rear Arm Mount, simply screw the screws back in to finish the installation.
If you done this properly, you have added some space between the rear arm mount and the chassis plate. By adding this space you are increasing the angle of the rear hinge pins and making your SC10 a little more hooked up in the rear!

